1. Installing GNOME-Desktop:
- Install GNOME Desktop Environment on here.
# yum -y groups install "GNOME Desktop" - Input a command like below after finishing installation:
# startx - GNOME Desktop Environment will start. For first booting, initial setup runs and you have to configure it for first time.
- Select System language first.
- Select your keyboard type.
- Add online accounts if you’d like to.
- Finally click “Start using CentOS Linux”.
- GNOME Desktop Environments starts like follows.
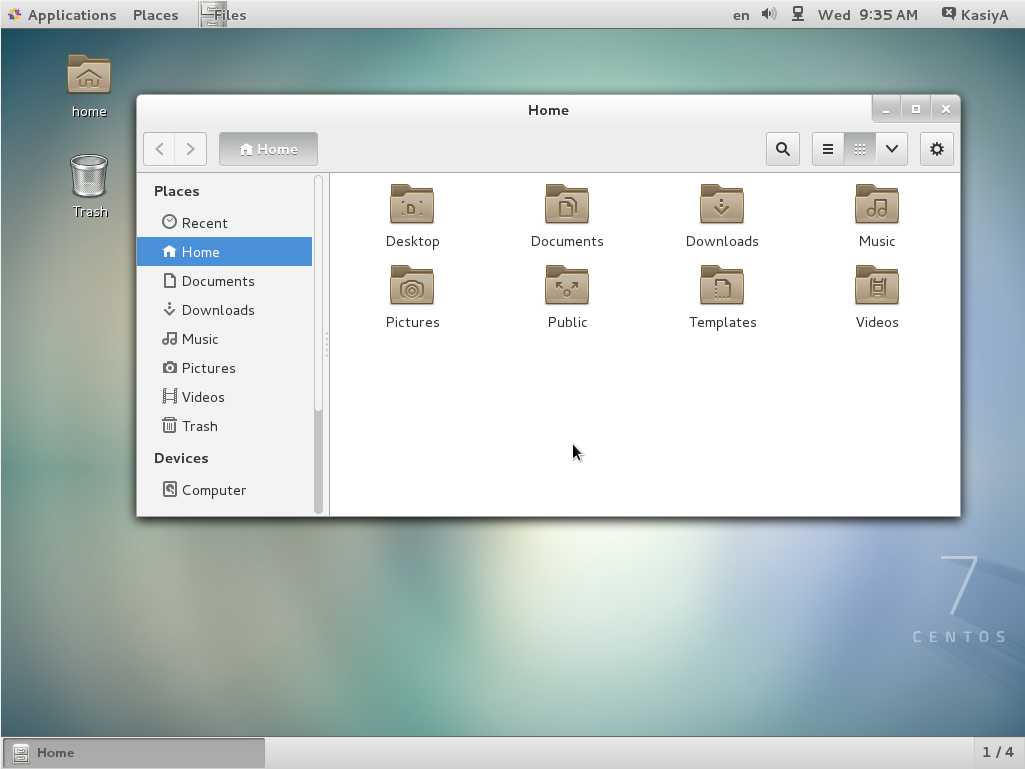
GNOME Desktop Environments
How to use GNOME Shell?
The default GNOME Desktop of CentOS 7 starts with classic mode but if you’d like to use GNOME Shell, set like follows:
Option A: If you start GNOME with startx, set like follows.
# echo "exec gnome-session" >> ~/.xinitrc

# startx
Option B: set the system graphical login systemctl set-default graphical.target and reboot the system. After system starts
- Click the button which is located next to the “Sign In” button.
- Select “GNOME” on the list. (The default is GNOME Classic)
- Click “Sign In” and log in with GNOME Shell.
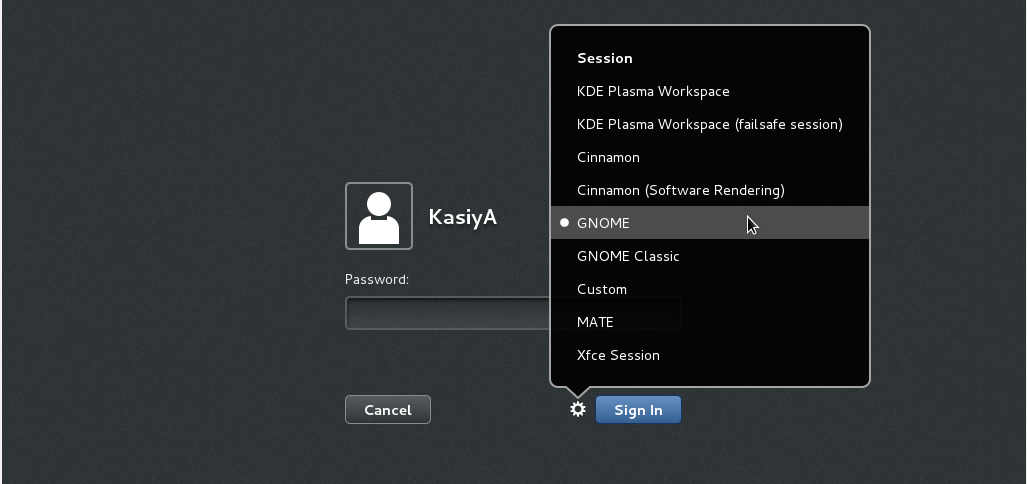
log in with GNOME Shell
- GNOME shell starts like follows:
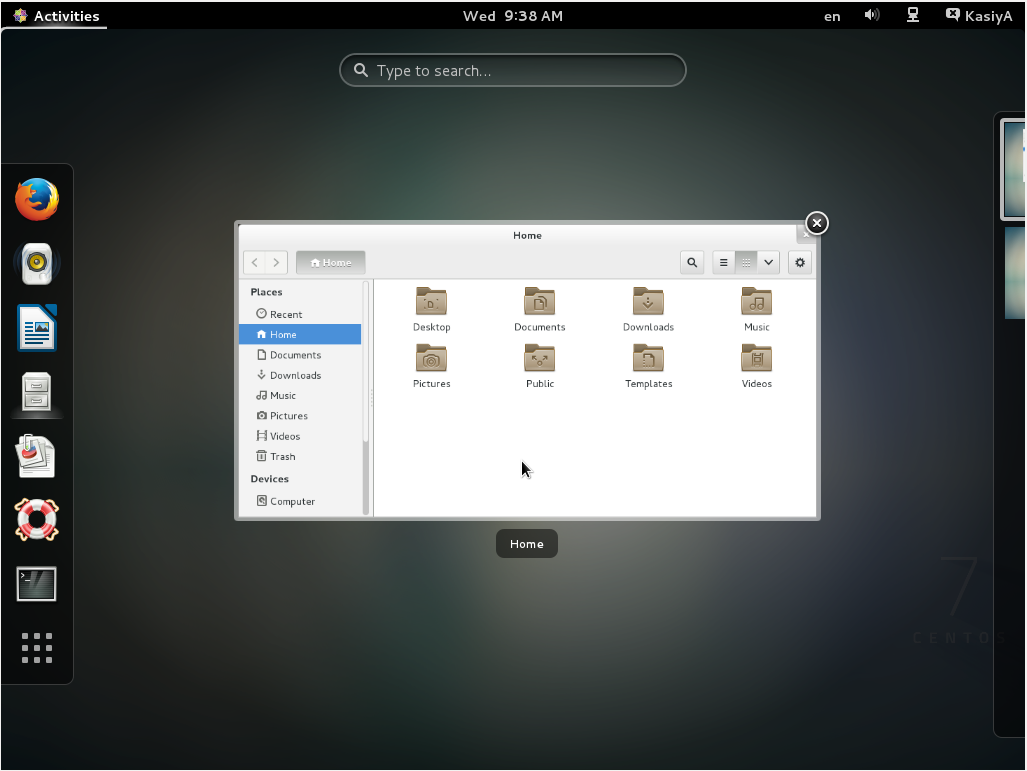
GNOME shell
2. Installing KDE-Desktop:
- Install KDE Desktop Environment on here.
# yum -y groups install "KDE Plasma Workspaces" - Input a command like below after finishing installation:
# echo "exec startkde" >> ~/.xinitrc

# startx - KDE Desktop Environment starts like follows:
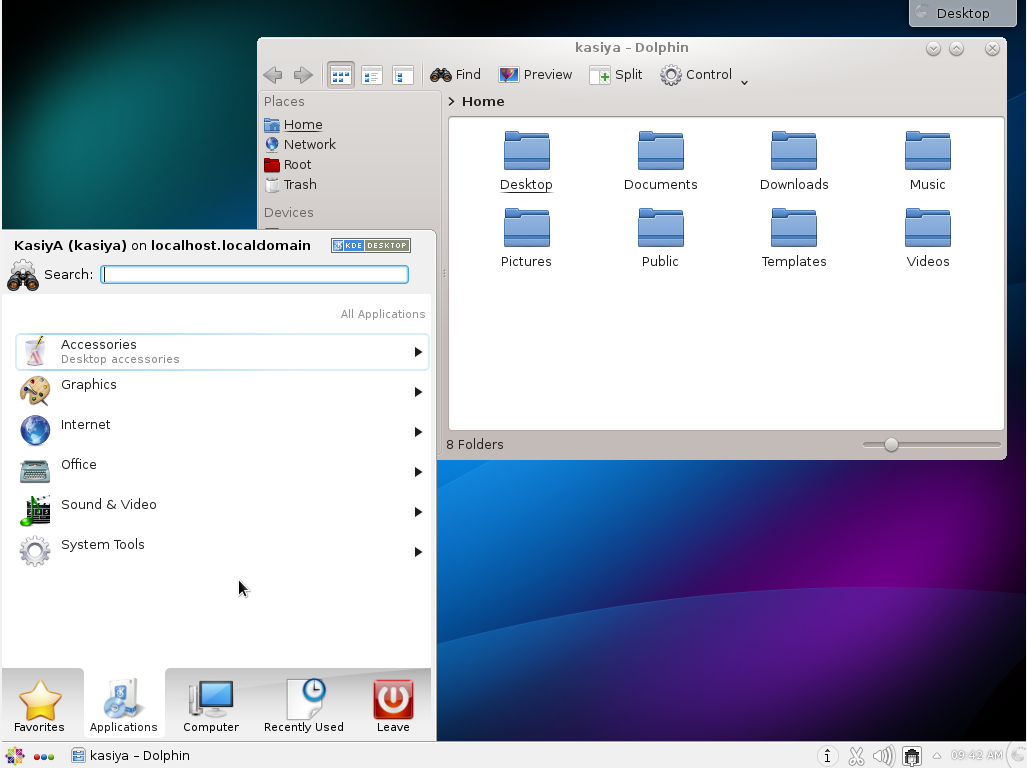
KDE Desktop Environment
3. Installing Cinnamon Desktop Environment:
- Install Cinnamon Desktop Environment on here.First Add the EPEL Repository (EPEL Repository which is provided from Fedora project.)
Extra Packages for Enterprise Linux (EPEL)- How to add EPEL Repository?
# yum -y install epel-release


# sed -i -e "s/\]$/\]\npriority=5/g" /etc/yum.repos.d/epel.repo # set [priority=5]

# sed -i -e "s/enabled=1/enabled=0/g" /etc/yum.repos.d/epel.repo # for another way, change to [enabled=0] and use it only when needed

# yum --enablerepo=epel install [Package] # if [enabled=0], input a command to use the repository - And now install the Cinnamon Desktop Environment from EPEL Repository:
# yum --enablerepo=epel -y install cinnamon*
- How to add EPEL Repository?
- Input a command like below after finishing installation:
# echo "exec /usr/bin/cinnamon-session" >> ~/.xinitrc

# startx - Cinnamon Desktop Environment will start. For first booting, initial setup runs and you have to configure it for first time.
- Select System language first.
- Select your keyboard type.
- Add online accounts if you’d like to.
- Finally click “Start using CentOS Linux”.
- Cinnamon Desktop Environment starts like follows.
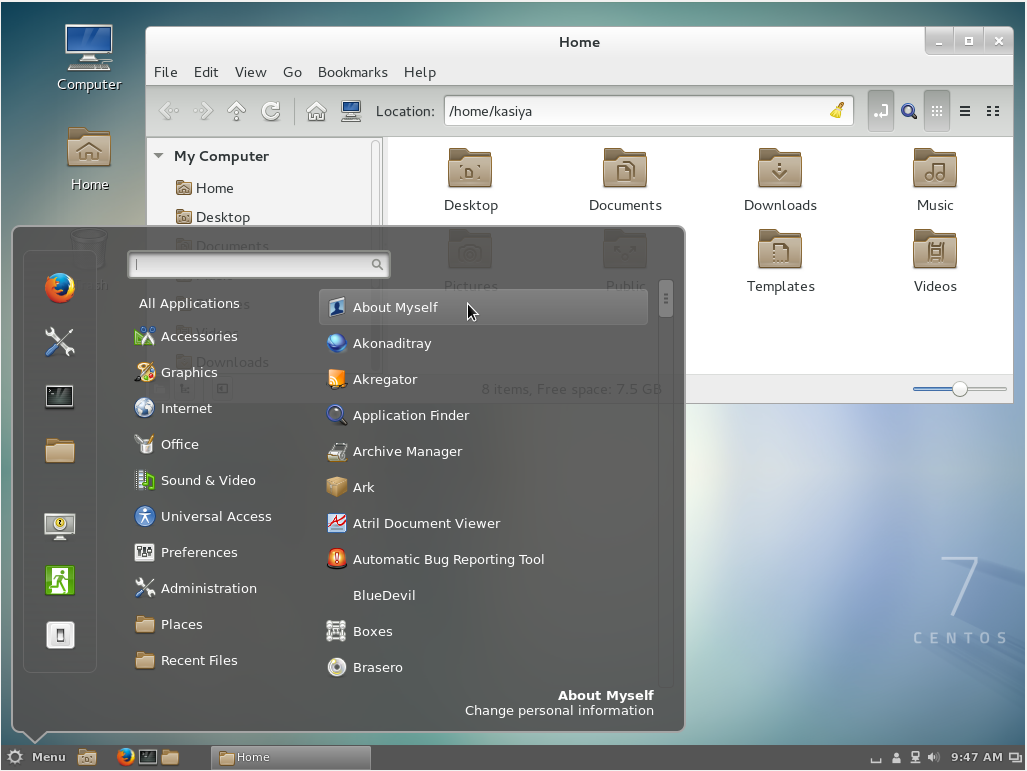
Cinnamon Desktop Environment
4. Installing MATE Desktop Environment:
- Install MATE Desktop Environment on here.
# yum --enablerepo=epel -y groups install "MATE Desktop" - Input a command like below after finishing installation:
# echo "exec /usr/bin/mate-session" >> ~/.xinitrc

# startx - MATE Desktop Environment starts.
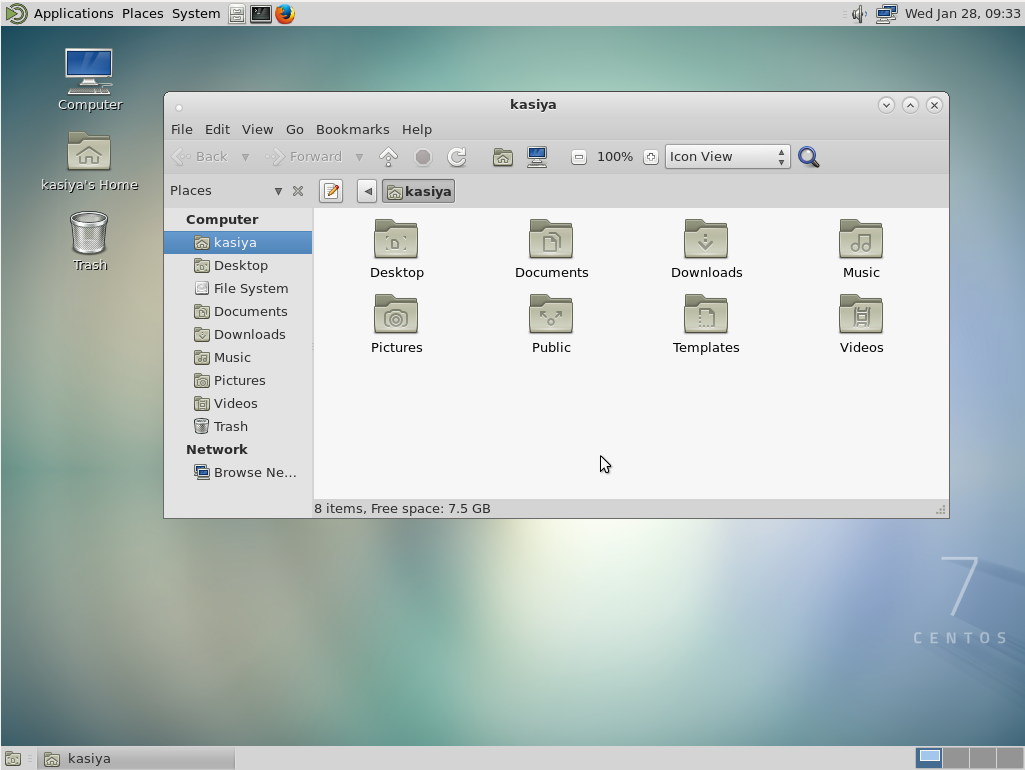
MATE Desktop Environment
5. Installing Xfce Desktop Environment:
- Install Xfce Desktop Environment on here.
# yum -y groupinstall X11

# yum --enablerepo=epel -y groups install "Xfce" - Input a command like below after finishing installation:
# echo "exec /usr/bin/xfce4-session" >> ~/.xinitrc

# startx - Xfce Desktop Environment starts.
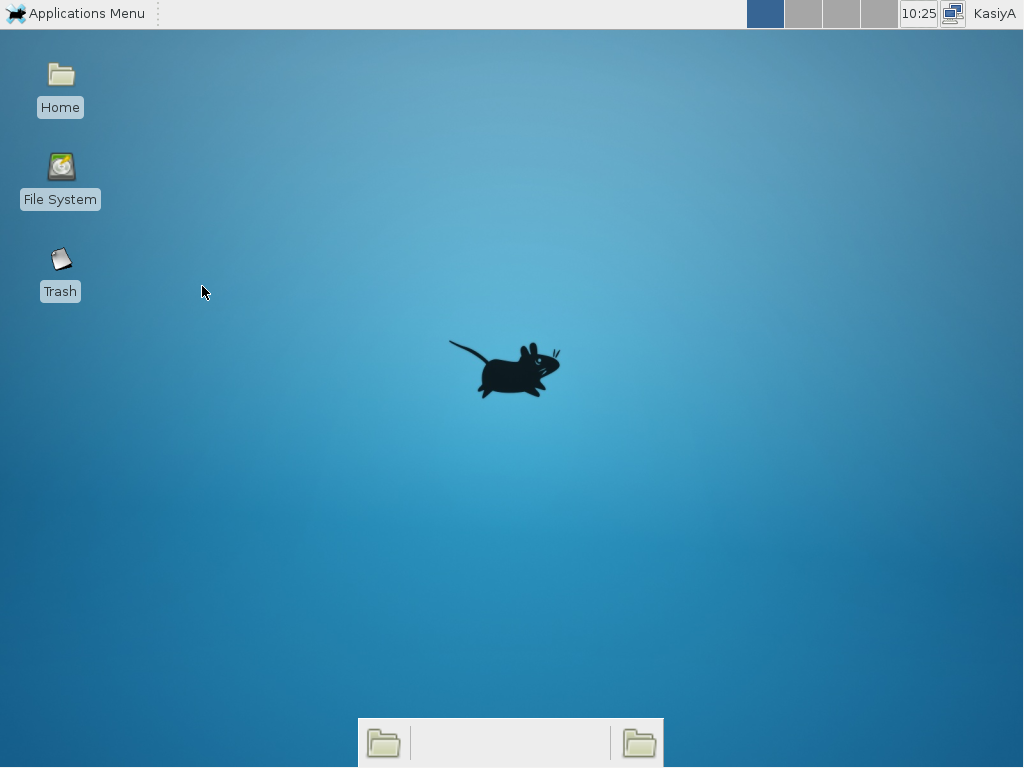
Xfce Desktop Environment
发表回复